
These photos are the same pouch before and after doing a boxy bottom.

After making up the pouch, but before turning the right way out and sewing up the gap in the lining, I place my square in the corner. This could equally well be a square of cardboard cut to the right size. I draw a square in the corner at the bottom of the pouch. The size of this square is half the width that I want the pouch gusset to be, so as I want a 2" gusset I am drawing a 1" square inside the seam line.

I draw my little square on both sides of each bottom corner of both the pouch outer and of the lining.
Now when I make the little triangle in the corner I can match up the lines that I've drawn and we have .......... perfection! ....... OK .... "near perfection".

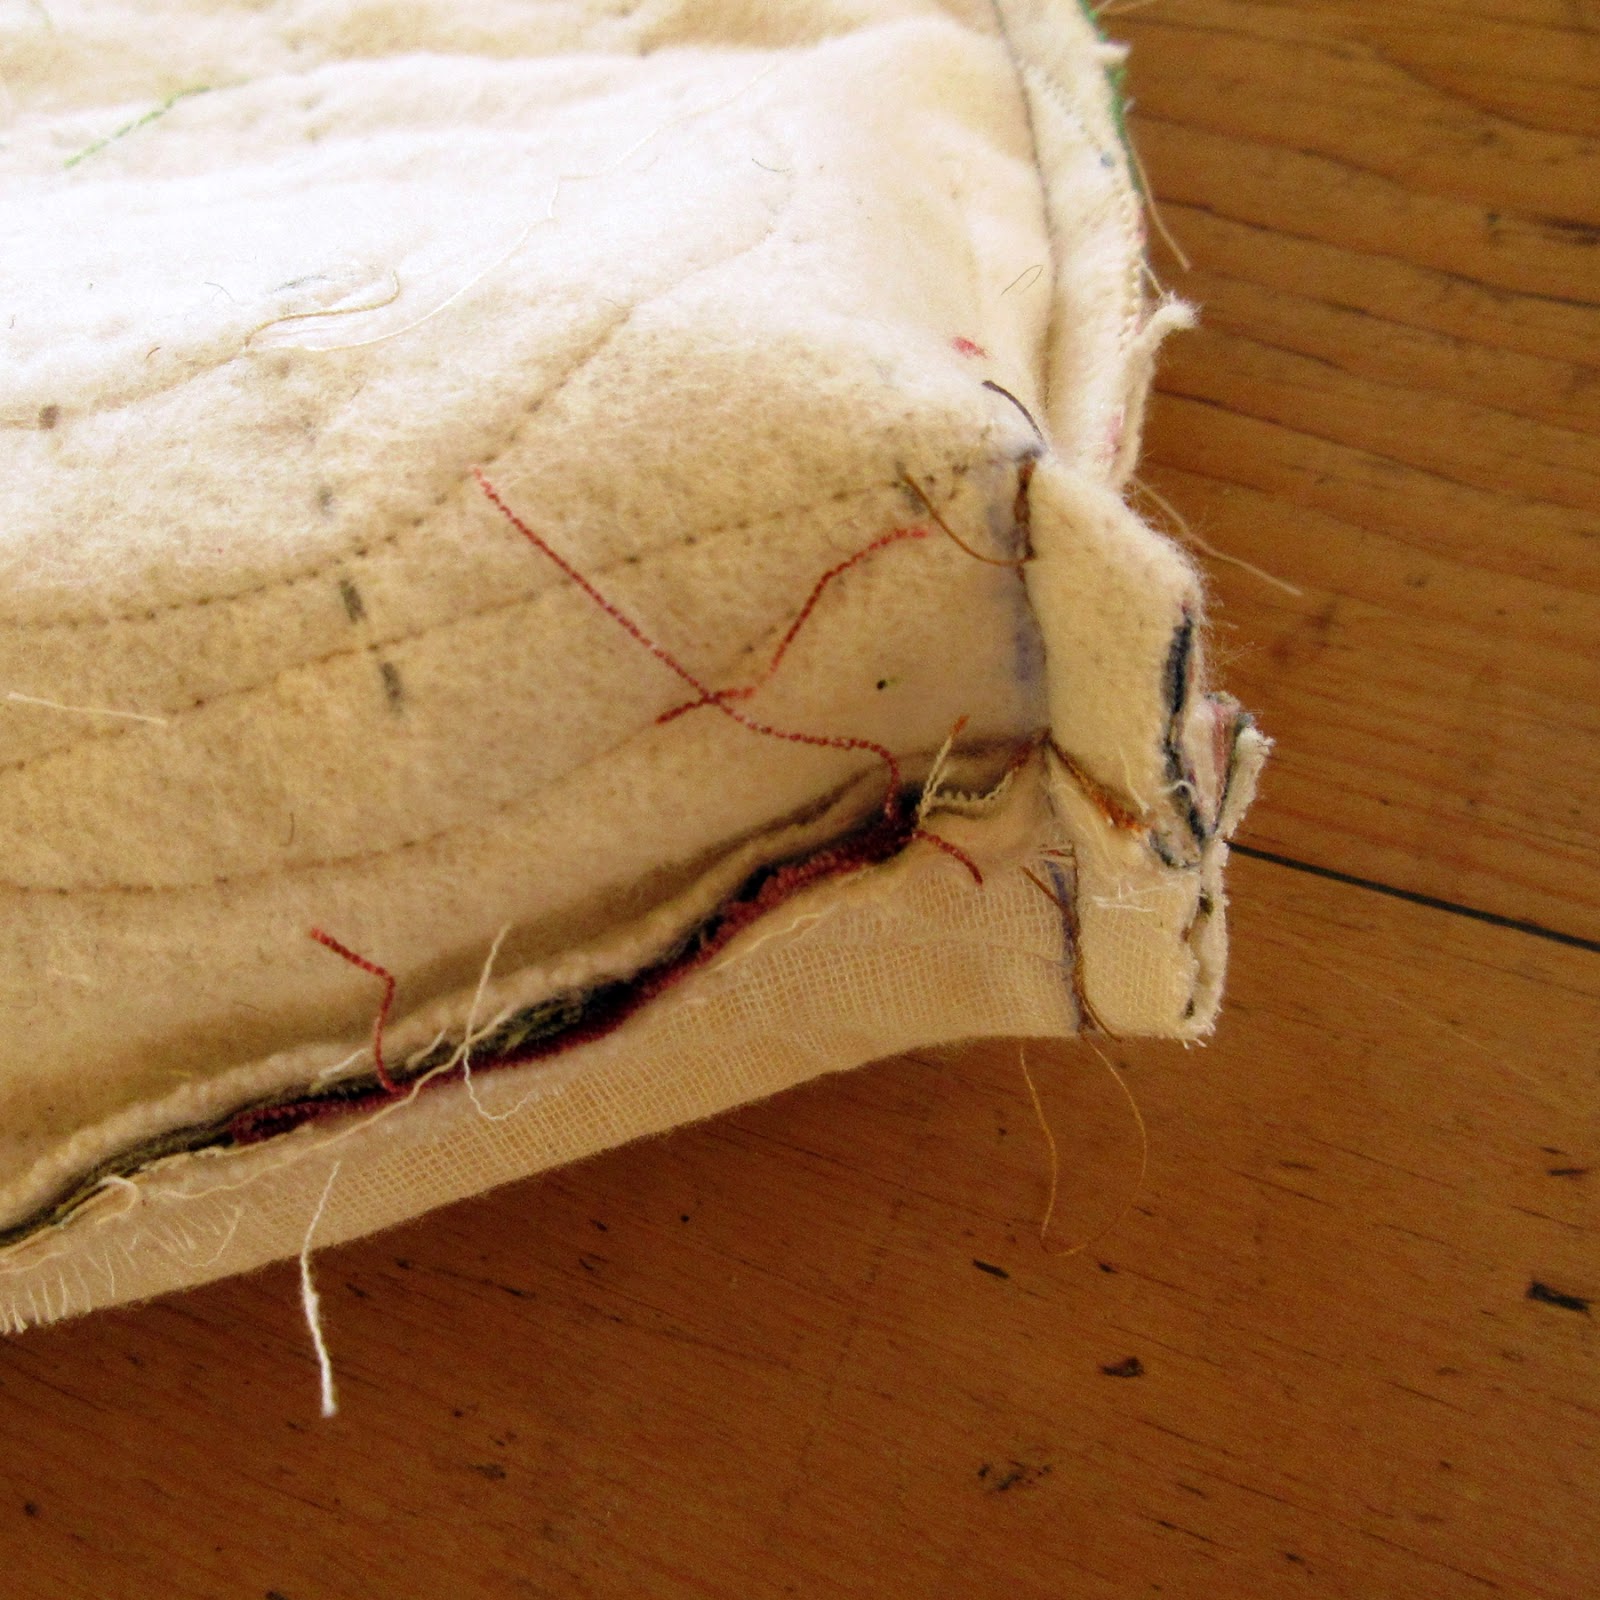
After sewing I cut off the points of the triangles for neatness and less bulk.

This is the last of my three-part zipper pouch tutorial. The links below will take you to the other two parts:
Part 1
Part 2
I'm linking up to Crazy Mom Quilts "Finish it Up Friday"
Happy Days - Anita x
Thanks for sharing - it really does make a difference, doesn't it.
ReplyDelete